
Production guide · 5 min read
How to choose listing photos for a property video
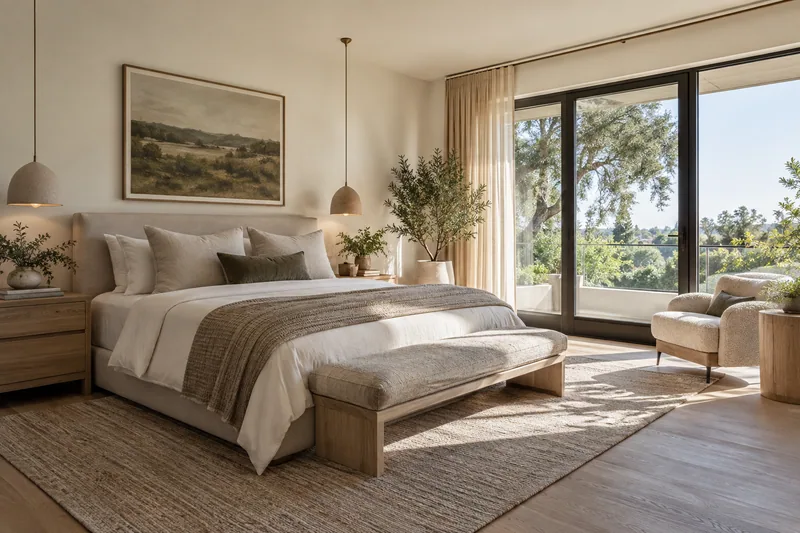
Lead with the images that explain the property
The strongest photos are not always the most dramatic ones. Begin with images that establish the exterior, layout and main living areas. They help viewers form a mental map before moving into smaller spaces and details.
For most homes, a concise selection is stronger than including every available photograph.
Use clean, high-resolution originals
Choose final edited files without watermarks, screenshots or interface elements. Consistent dimensions and color make the finished sequence easier to balance.
Avoid near-duplicate angles unless they reveal something meaningfully different about the room.
Match the image to the intended motion
Photos with clear depth often support natural forward motion. Wider compositions can allow subtle side-to-side movement. Images cropped tightly around furniture or doorways leave less room for motion and reframing.
A good source photo should remain convincing when viewed for several seconds rather than only as a quick thumbnail.
Protect privacy and accuracy
Remove visible personal information, family photographs, license plates and private documents before sending files into any production workflow.
Review generated motion for altered windows, fixtures, boundaries or room features. Property marketing should remain a fair representation of the listing.